How to Drill for Curtain Rods: A Practical Guide
Learn how to drill for curtain rods with confidence. This practical guide covers wall types, anchors, drill bit selection, and step-by-step techniques from Drill Bits Pro.

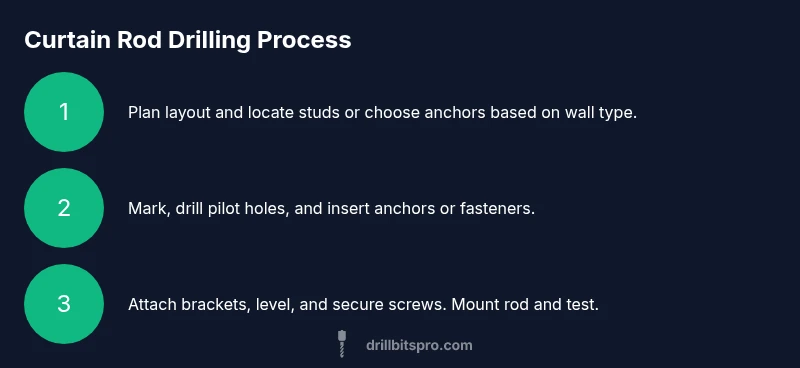
You will learn how to drill for curtain rod brackets safely and securely by choosing the right anchors, drill bits, and mounting method for drywall, plaster, or masonry. Start by locating studs or selecting appropriate anchors, then drill pilot holes, install hardware, and level the brackets before mounting the rod. Follow proven steps from Drill Bits Pro to minimize wall damage and maximize stability.
Before you start: plan and assess
If you're wondering how to drill for curtain rods, the first step is planning. A thoughtful plan reduces wall damage, keeps brackets aligned, and ensures the rod will hold up to use. According to Drill Bits Pro, taking a few minutes to map out location, wall type, and weight expectations saves time and avoids rework later. Start by deciding where the rod should sit relative to the window, then determine bracket spacing based on rod length and the type of wall you’re mounting into. Measure the height from the floor to the desired rod level on both sides and verify the marks are level with a carpenter’s pencil and a spirit or laser level. If you can locate a stud, mounting into wood provides the strongest hold; otherwise, you’ll rely on anchors suitable for drywall, plaster, or masonry. This upfront planning also helps you avoid electrical cables, pipes, or HVAC components hidden behind the wall. After planning, gather your tools and materials so you can work smoothly without jumping in and out of the task.
In practical terms, approach the job as a small carpentry project. Prepare a clean, dry workspace with good lighting and keep a trash bag or container handy for dust and debris. If you’re mounting a heavy or long rod, consider extra bracket support and heavier anchors to minimize sag over time. The Drill Bits Pro team emphasizes that precision here sets the tone for a neat, durable installation. Take a few extra minutes to double-check your measurements and level—this simple habit pays dividends in a flawless result.
Lastly, understand the wall surface you’ll drill into. Drywall requires different anchors than plaster over lathe, and masonry walls need a different approach entirely. Your choice of bit, anchor, and screw should reflect the wall material and the rod’s weight. When in doubt, test your plan on a scrap piece or a small hidden area to confirm you’re happy with the method before drilling into a visible section.
Tools & Materials
- Drill with variable speed(Corded or cordless with a fresh battery charge; set to low-to-moderate speed for control.)
- Stud finder(Helps locate wood studs or safe zones behind drywall.)
- Pencil or masking tape(For marking precise hole locations and depth.)
- Level or laser level(Ensure bracket positions are perfectly horizontal.)
- Measuring tape(Accurate spacing between brackets and from window edge.)
- Masonry bit or wood bit (depending on wall)(Select bit size appropriate for wall type and anchors.)
- Drywall anchors (plastic expansion or toggle)(Choose anchors rated for curtain rod loads.)
- Masonry anchors or toggle bolts (for masonry walls)(Use the correct type for brick or concrete.)
- Screws sized to brackets(Self-tapping wood screws for studs; expansion screws for drywall.)
- Hammer or mallet(Useful for tapping anchors into wall gently.)
- Safety glasses(Eye protection during drilling.)
- Dust mask(Optional for dusty plaster or masonry work.)
- Vacuum or damp cloth(Clean up dust after drilling.)
Steps
Estimated time: 40-70 minutes
- 1
Locate studs and mark height
Use a stud finder to locate vertical studs behind the wall and mark their positions at the desired rod height. If a stud isn’t at the bracket location, plan to use wall anchors rated for the wall type. Ensure the marks on both sides are level with each other. This step creates a solid foundation for weight-bearing brackets.
Tip: Double-check with a level before investing in anchors. - 2
Choose anchors based on wall type
Select either wood screws into studs or suitable drywall/masonry anchors. Drywall alone is rarely sufficient for heavy curtain rods; anchors transfer load to the wall backing. For masonry, select masonry anchors or threaded screws designed for brick or concrete.
Tip: When in doubt, err on the side of a stronger anchor rather than a larger hole. - 3
Drill pilot holes
Drill small pilot holes at each marked location. Pilot holes reduce the risk of splitting wood, cracking plaster, or wandering in masonry. Keep the drill perpendicular to the wall to maintain alignment with the marks.
Tip: Mark depth with a piece of tape on the bit to avoid drilling too deep. - 4
Install anchors or drill into studs
If using anchors, gently tap them into the pilot holes until flush. If mounting into studs, you can proceed to screw placement without anchors. For masonry walls, use a hammer drill and appropriate masonry anchors or sleeves to ensure a secure seat.
Tip: Verify the anchor sits flush and perpendicular to the wall before proceeding. - 5
Attach mounting brackets
Position brackets over the pilot holes and drive screws until snug. Use a level to keep brackets perfectly horizontal and evenly spaced from the window edge. Loose brackets can cause the rod to tilt or sag over time.
Tip: Tighten screws securely without overdriving and stripping the hole. - 6
Mount the curtain rod
Slide the rod into the brackets or attach the rod with the bracket’s screws as designed. Re-check the level and symmetry across both sides. If needed, adjust bracket position slightly to ensure a balanced appearance.
Tip: Do a quick weight test by gently pulling on the rod before final tightening. - 7
Clean up and test
Wipe away dust, inspect for wobble, and test by hanging a few heavier-weight items to confirm stability. If anything feels loose, re-tighten or replace anchors. For longer-term reliability, periodically check screws and brackets.
Tip: Keep an eye on sag with heavier curtains and re-tighten as needed.
Got Questions?
Do I need to locate studs for curtain rod brackets?
Locating studs provides the strongest anchor for brackets and reduces the risk of sagging. If no stud is at the bracket position, use rated drywall or masonry anchors appropriate for the wall. Always aim for supported mounting when possible.
Yes—seek studs for maximum support, or use proper anchors if a stud isn’t available.
What should I do if I hit a cable behind the wall?
Stop drilling immediately and reassess. Move the bracket location or use a safer area. If you must drill again, take extra precautions to avoid electrical lines and use a non-conductive wall anchor.
If you hit a cable, stop and move to a different location, and check with a professional if unsure.
Which drill bit size should I use for curtain rod screws?
Choose a drill bit that matches the screw diameter for a clean pilot hole, then use screws that fit the anchors or bracket holes. The goal is a snug fit without splitting the wall material.
Use a pilot hole slightly smaller than the screw for a clean thread and solid grip.
Can I install curtain rod brackets on tile or masonry?
Yes. For tile, use a masonry bit and appropriate anchors, drilling slowly to avoid cracking. For brick or concrete, choose masonry anchors and a compatible drill bit, and consider a hammer drill for easier penetration.
Yes, with the right masonry bit and anchors, plus careful drilling to protect tile.
How deep should the pilot holes be?
Pilot holes should be deep enough to accept the anchors or screws without bottoming out, but not so deep that they break through the wall surface. Use a tape mark on the drill bit to gauge depth.
Mark depth with tape to ensure you don’t drill too deep.
Watch Video
Top Takeaways
- Plan your layout before drilling
- Choose the correct anchors for wall type
- Drill pilot holes to reduce material damage
- Ensure brackets are level and secure
- Test the rod load after mounting